Replacing a snooker table cloth is an essential maintenance task that directly affects gameplay quality. Over time, cloth can wear out, lose speed, develop uneven patches, or show burn marks. Learning How to Replace Snooker Table Cloth: Step-by-Step Guide helps table owners maintain consistent ball roll, accurate shots, and a professional playing surface without relying entirely on technicians. explains the process in a clear, structured way so you understand what’s involved, what tools you need, and how to avoid common mistakes.
Why Snooker Table Cloth Replacement Matters
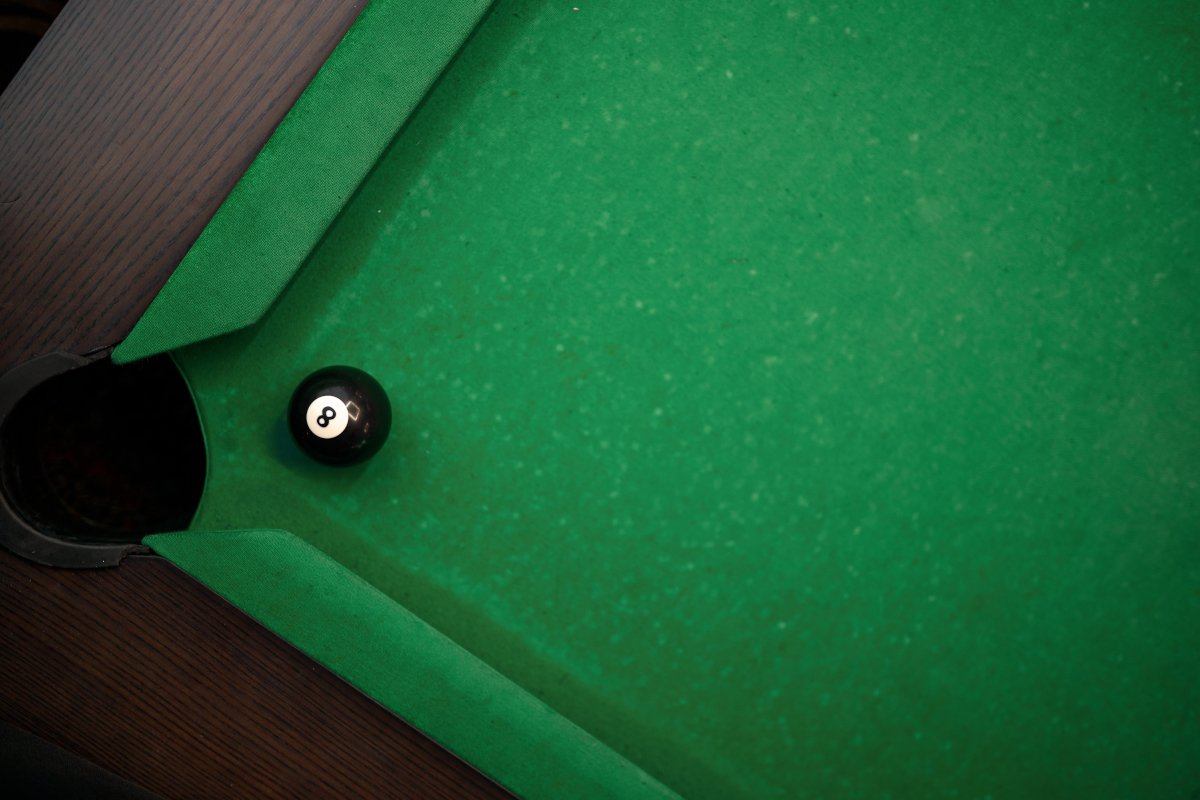
Snooker is a precision game. Even minor imperfections in the cloth can influence ball direction, spin, and pace. Replacing the cloth at the right time ensures:
- Smooth and predictable ball movement
- Improved cue control
- Extended table lifespan
- A clean and professional appearance
If your table shows signs such as thinning cloth, visible seams, slow play, or frequent ball deviation, it is time for a replacement.
Tools and Materials Required
Before starting, gather all necessary tools to avoid interruptions during the process.
Essential Tools
- New snooker table cloth (bed cloth and cushion cloth)
- Staple gun and staples or adhesive (depending on table design)
- Flathead screwdriver
- Scissors or sharp cutting blade
- Chalk or marking pencil
- Measuring tape
- Cloth stretching tool or clean hands
Choosing the Right Cloth
Select a cloth designed specifically for snooker tables. These are usually woven wool cloths that offer controlled speed and durability. Ensure the size matches your table dimensions to allow proper stretching and trimming.
Step-by-Step Guide to Replacing Snooker Table Cloth
Step 1: Remove Cushions and Rails
Start by carefully removing the cushions and rails from the table. Use a screwdriver to loosen bolts underneath. Keep all screws and fittings organized, as they will be needed during reassembly.
Take care not to damage the wooden rails or rubber cushions during removal.
Step 2: Remove the Old Cloth
Once the rails are removed, carefully detach the old cloth from the table bed. Depending on how it was installed, you may need to remove staples or gently peel off adhesive.
Remove all residue, dust, and chalk from the slate surface. A clean base ensures the new cloth sits flat without bumps or wrinkles.
Step 3: Prepare the Table Surface
Inspect the slate surface for cracks, uneven joints, or loose screws. Tighten slate screws if required and ensure joints are level. Use filler if necessary and allow it to dry completely.
A smooth and level surface is critical for accurate gameplay.
Step 4: Position the New Bed Cloth
Lay the new cloth evenly across the table bed, ensuring the nap direction runs from the balk end toward the black spot. This direction allows consistent ball speed.
Center the cloth properly with enough excess on all sides for stretching and securing.
Step 5: Stretch and Secure the Cloth
Begin fixing the cloth at one end of the table, pulling it taut as you move to the opposite side. Stretch evenly to avoid wrinkles or slack areas.
Secure the cloth using staples or adhesive as per your table’s design. Work from the center outward on each side to maintain even tension.
Trim excess cloth carefully once secured.
Step 6: Cloth the Cushions
Cut cushion cloth strips to size, leaving extra length for folding and stapling. Wrap each cushion evenly, ensuring smooth edges without creases.
Reattach the cushion cloth securely, keeping tension consistent across all rails.
Step 7: Reinstall Rails and Final Adjustments
Once the bed and cushions are clothed, reattach the rails to the table. Tighten bolts evenly to avoid misalignment.
Check pocket openings and cloth tension around pocket edges. Make minor adjustments if necessary.
Common Mistakes to Avoid
Replacing snooker table cloth requires patience and precision. Avoid these common errors:
- Stretching the cloth unevenly
- Ignoring nap direction
- Using the wrong type of cloth
- Over-tightening staples or bolts
- Cutting excess cloth too early
Each of these can affect table performance and cloth longevity.
How Often Should Snooker Table Cloth Be Replaced?
The frequency of replacement depends on usage. Home tables used occasionally may need new cloth every 3–5 years. Commercial or club tables may require replacement annually or even sooner.
Regular brushing, proper chalk use, and covering the table when not in use can extend cloth life.
Professional vs DIY Replacement
While professional installation ensures precision, many table owners successfully follow How to Replace Snooker Table Cloth: Step-by-Step Guide to achieve excellent results at home. If you are confident with tools and careful with measurements, DIY replacement can be cost-effective.
However, for tournament-grade tables or heavily used setups, professional fitting may still be the better option.
Final Thoughts
Replacing a snooker table cloth is a detailed but manageable task when approached methodically. By following this How to Replace Snooker Table Cloth: Step-by-Step Guide, you can restore your table’s playing quality and appearance.
Taking time to prepare, stretch evenly, and avoid shortcuts ensures your new cloth performs well and lasts longer. With proper care, your snooker table will continue delivering smooth, accurate gameplay for years to come.