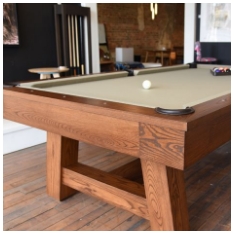
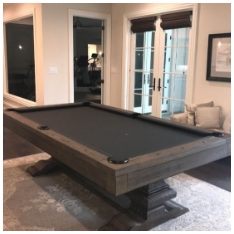
A pool table is a valuable investment that brings entertainment and skill-building into your space. Over time, the felt surface experiences wear from frequent play, chalk, and ball impact. Worn or damaged felt affects both performance and the overall playing experience. Learning how to refelt a pool table not only saves on professional repair costs but also ensures you maintain control over the quality of materials used.
This guide provides clear instructions on how to refelt a pool table in eight steps, covering preparation, tools, and best practices. Whether you are maintaining your own table or restoring an older model, these steps will help you install new felt with accuracy.
Why Refelting a Pool Table Matters
Replacing pool table felt is more than an aesthetic upgrade. It directly impacts how smoothly balls roll, how consistent the bounce is, and the lifespan of the table. Fresh felt ensures:
- Improved gameplay with even ball movement.
- Reduced friction for accurate shots.
- Protection of slate surface against scratches or chalk buildup.
- Extended table life with proper maintenance.
By understanding the importance of this process, you are better prepared to handle the task with care.
Tools and Materials Needed
Before beginning, gather the necessary tools and supplies. Having everything within reach makes the process more efficient.
Essential Tools
- Staple remover or flathead screwdriver
- Power staple gun (or heavy-duty manual stapler)
- Measuring tape
- Scissors or utility knife
- Rubber mallet
- Cloth brush
Materials
- High-quality pool table felt
- Chalk or marking pencil
- Adhesive spray (optional, depending on installation method)
- Replacement staples
Preparing the Pool Table
Preparation is key to ensuring a successful refelting.
Clear the Playing Area
Move chairs, cues, and accessories away to give yourself space.
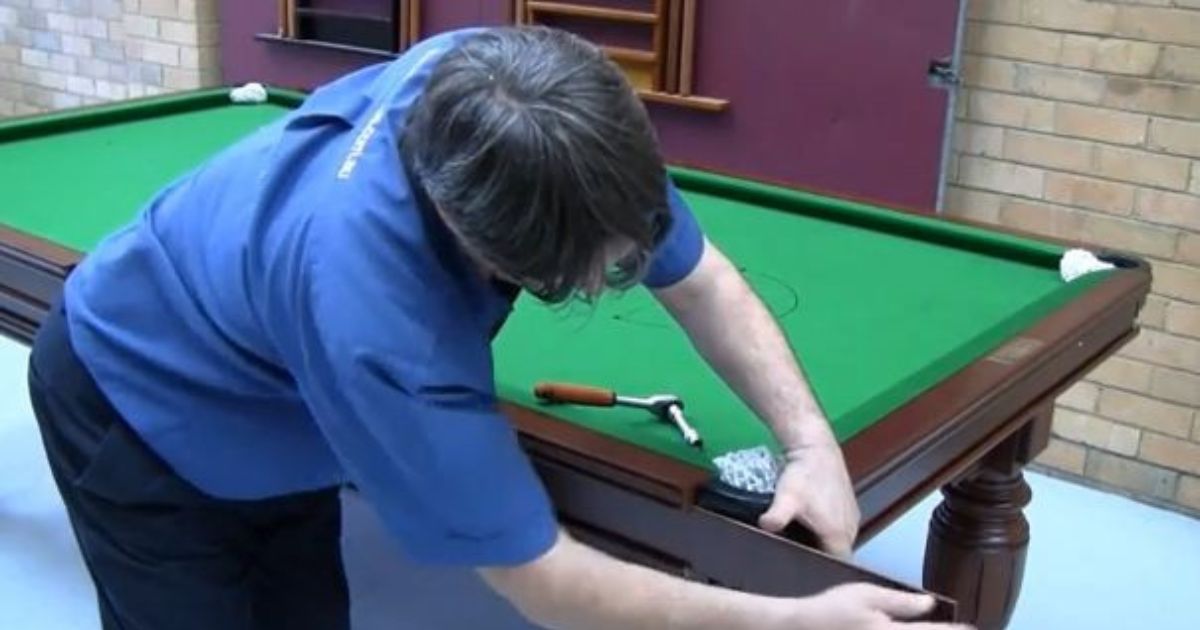
Disassemble the Rails
Carefully remove the pockets and rails. Place screws and bolts in a container to avoid misplacing them.
Inspect the Slate
Check for cracks, chips, or uneven surfaces. Repairing these before laying new felt ensures smooth play.
How To Refelt A Pool Table – Step-by-Step Guide
The following eight steps outline the full process of refelting your pool table.
Step 1 – Remove Old Felt
Start by pulling out the staples or glue that hold the old felt. Take your time to avoid damaging the slate.
Step 2 – Clean the Slate
Use a brush or vacuum to clear away chalk, dust, and leftover adhesive. A clean slate ensures proper felt adhesion.
Step 3 – Measure and Cut New Felt
Lay the felt flat and measure according to your table’s dimensions. Cut with precision, leaving a few extra inches on each side for stretching.
Step 4 – Position the Felt on the Slate
Place the felt carefully, ensuring it is centered. Smooth it with your hands to remove wrinkles.
Step 5 – Attach the Felt to One End
Secure the felt at one end of the table using a staple gun. Work from the center outward to maintain tension.
Step 6 – Stretch and Staple the Opposite End
Pull the felt tightly across the slate and staple it in place. Even stretching prevents slack that could affect ball movement.
Step 7 – Staple the Sides
Move to the sides, stapling evenly while smoothing out wrinkles. Be cautious near the corners, where neat folding is required.
Step 8 – Reinstall the Rails and Pockets
Once the felt is firmly in place, reattach the rails and pockets. Ensure screws are tightened securely to restore table stability.
Tips for a Smooth Installation
- Always keep the felt under consistent tension.
- Avoid cutting too close to the staples until the fabric is secured.
- Test roll a ball across the surface before reinstalling the rails.
- If using adhesive spray, apply evenly to avoid clumping.
Conclusion
Learning how to refelt a pool table is a skill that enhances both the durability and enjoyment of your game. With the right tools, preparation, and attention to detail, you can complete the task in eight clear steps. This process not only improves the play experience but also protects your investment for years to come.
By following this guide, you can confidently install new felt and ensure your table remains in excellent condition.