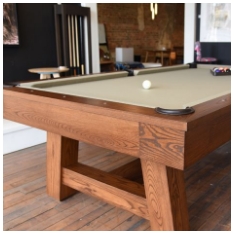
A pool table’s performance depends heavily on how well its playing surface and rails are covered. While the slate bed often gets the most attention, the rails play an equally important role in delivering consistent bounce, speed, and accuracy. Learning how to felt rails with Simonis cloth pool table rail covering ensures not only a professional look but also an improved playing experience.
This guide walks you through the process step by step. We’ll cover the tools required, preparation, installation, and post-installation care. By the end, you’ll have a complete understanding of how to re-cover your pool table rails with Simonis cloth like a professional.
Why Choose Simonis Cloth for Rail Covering?
Simonis cloth has been trusted in pool halls and tournaments for decades. Here’s why it is the preferred choice for rail covering:
- Durability: Simonis cloth is tightly woven, resisting wear from chalk, cue impact, and friction.
- Consistency: It provides uniform ball roll and predictable rebounds off the rails.
- Professional Quality: Used in professional competitions, Simonis ensures an authentic playing experience.
- Easy Maintenance: Its tight weave resists pilling and retains smoothness longer than standard cloths.
If you want your table to perform at its best, covering the rails with Simonis cloth is the right investment.
Tools and Materials Needed
Before you start, gather the following tools and materials. Having everything ready makes the process smoother.
- Simonis cloth (sized for your pool table)
- Staple gun with 1/4" or 3/8" staples
- Flathead screwdriver or staple remover
- Scissors or utility knife
- Rail bolts and a socket wrench
- Chalk line or fabric marker
- Small hammer (optional for staple adjustments)
- Measuring tape
Step 1: Remove the Rails
- Use a socket wrench to unbolt the rails from the table frame.
- Carefully lift each rail off the table. Place them on a flat surface covered with a cloth to avoid scratches.
- Keep the bolts and hardware in a safe place for reassembly.
Step 2: Strip Old Cloth from Rails
- Flip the rail over to access the staples holding the old cloth.
- Use a flathead screwdriver or staple remover to carefully extract the staples.
- Remove all leftover fabric and ensure the wood surface is clean.
This step is important because any leftover staples or fabric can create bumps in the new cloth.
Step 3: Cut the Simonis Cloth
- Lay out the Simonis cloth on a flat surface.
- Measure each rail individually, leaving at least 4 inches of extra fabric on all sides.
- Cut the cloth sections precisely to size.
Pro tip: Mark the cloth sections with chalk or a fabric marker to avoid confusion when working with multiple rails.
Step 4: Position the Cloth on the Rail
- Place the cloth over the rail, ensuring the weave runs straight.
- Smooth it gently to avoid wrinkles.
- Make sure the cushion side is properly aligned before stapling.
Step 5: Staple the Cloth in Place
- Start by stapling the center of the cloth to the wood backing of the rail.
- Work your way outward, alternating sides to maintain even tension.
- Pull the cloth firmly but not excessively to avoid distortion.
- Keep the cloth smooth and free of wrinkles.
This step ensures a tight, professional fit and consistent bounce during gameplay.
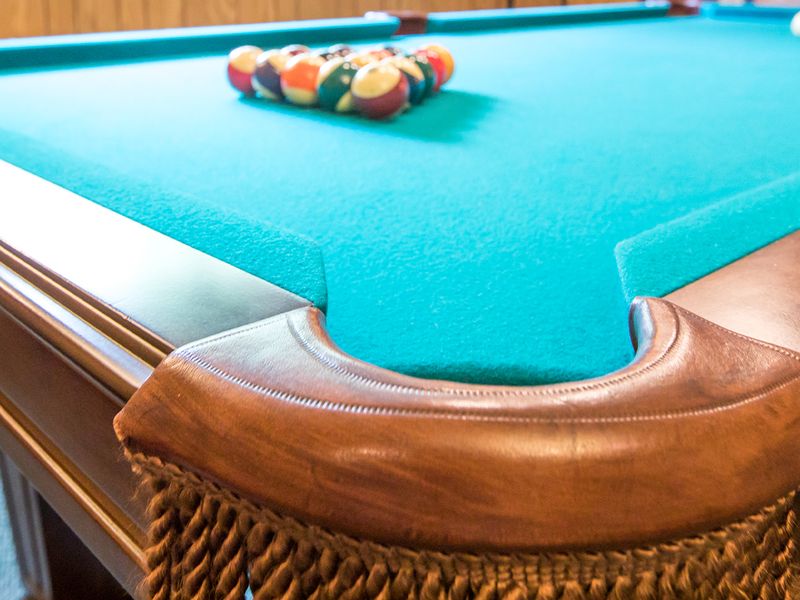
Step 6: Cut and Wrap the Pockets
- At the pocket ends, carefully cut a “V” shape into the cloth to allow folding.
- Wrap the cloth around the curve of the pocket and staple securely.
- Trim any excess cloth neatly with scissors.
The pocket area requires precision, as messy folds can affect the appearance and fit.
Step 7: Finish and Reassemble the Rails
- Inspect each rail for even stapling and smooth cloth placement.
- Once satisfied, reattach the rails to the pool table using the bolts and socket wrench.
- Double-check that all bolts are tightened evenly.
Maintenance Tips for Simonis Cloth Rail Covering
Once your rails are covered, proper care helps prolong their life:
- Clean Regularly: Use a pool table brush to remove chalk dust.
- Avoid Spills: Liquids can stain and damage Simonis cloth.
- Rotate Use: If possible, rotate the table’s orientation in a room to distribute wear evenly.
- Inspect Annually: Check for loose staples, fraying edges, or slackness.
Common Mistakes to Avoid
Even with careful effort, mistakes can happen. Here are some to watch out for:
- Overstretching the Cloth: This can distort the weave and reduce rebound consistency.
- Insufficient Stapling: Sparse staples can cause looseness over time.
- Cutting Too Much Fabric: Always leave extra fabric for adjustments, especially around pockets.
- Ignoring Alignment: Misaligned cloth affects both appearance and gameplay.
How Long Does It Take to Cover Pool Table Rails?
For beginners, the process can take 4 to 6 hours depending on table size and experience level. Professionals can often complete it in 2 to 3 hours. Taking your time ensures precision and avoids costly mistakes.
Cost Considerations
Covering rails with Simonis cloth typically involves:
- Simonis Cloth: Around $250–$350 depending on table size.
- Staple Gun & Tools: $50–$100 (if you don’t already own them).
- Professional Service (Optional): $300–$500 if you hire an installer.
Doing it yourself saves money and gives you the satisfaction of personal craftsmanship.
Final Thoughts
Learning how to felt rails with Simonis cloth pool table rail covering is a rewarding project for any pool table owner. With the right tools, patience, and attention to detail, you can achieve a professional-quality finish that enhances both the look and playability of your table.
Whether you’re a hobbyist or a competitive player, freshly covered rails provide consistent rebounds and a smoother overall game. By following this step-by-step guide, you can restore your table to its best condition and enjoy many years of improved play.